If you’re running a Shopify store and scaling fast, managing inventory becomes one of the toughest challenges. Whether you’re partnering with a third-party logistics (3PL) provider, using a warehouse, or even dropshipping, you’ll need to change your Shopify inventory location to that third-party setup.
Doing this correctly ensures your stock levels, shipping, and order fulfillment remain accurate across all sales channels without the mess of manual updates.
Let’s break down everything you need to know about changing your Shopify inventory location to a third party, step by step.
Why Change Your Shopify Inventory Location?
Before we dive into the steps, it’s important to understand why you might want to do this.
Here are a few common reasons:
- You’re outsourcing fulfillment to a 3PL like ShipBob, Deliverr, or Amazon FBA.
- You’re using multiple warehouses in different regions for faster shipping.
- You’re switching from in-house storage to a third-party logistics setup.
- You want automation — where your 3rd-party partner handles orders, returns, and shipping automatically.
By connecting the new location to Shopify, you keep your order flow consistent and transparent.
How Shopify Handles Inventory Locations
Shopify allows you to create multiple inventory locations inside your store settings.
Each location represents where your products are stored — this can be your own office, warehouse, retail store, or even your third-party logistics provider.
Every order placed on your store gets assigned to one of these locations for fulfillment.
That’s why setting it up properly is critical for smooth operations.
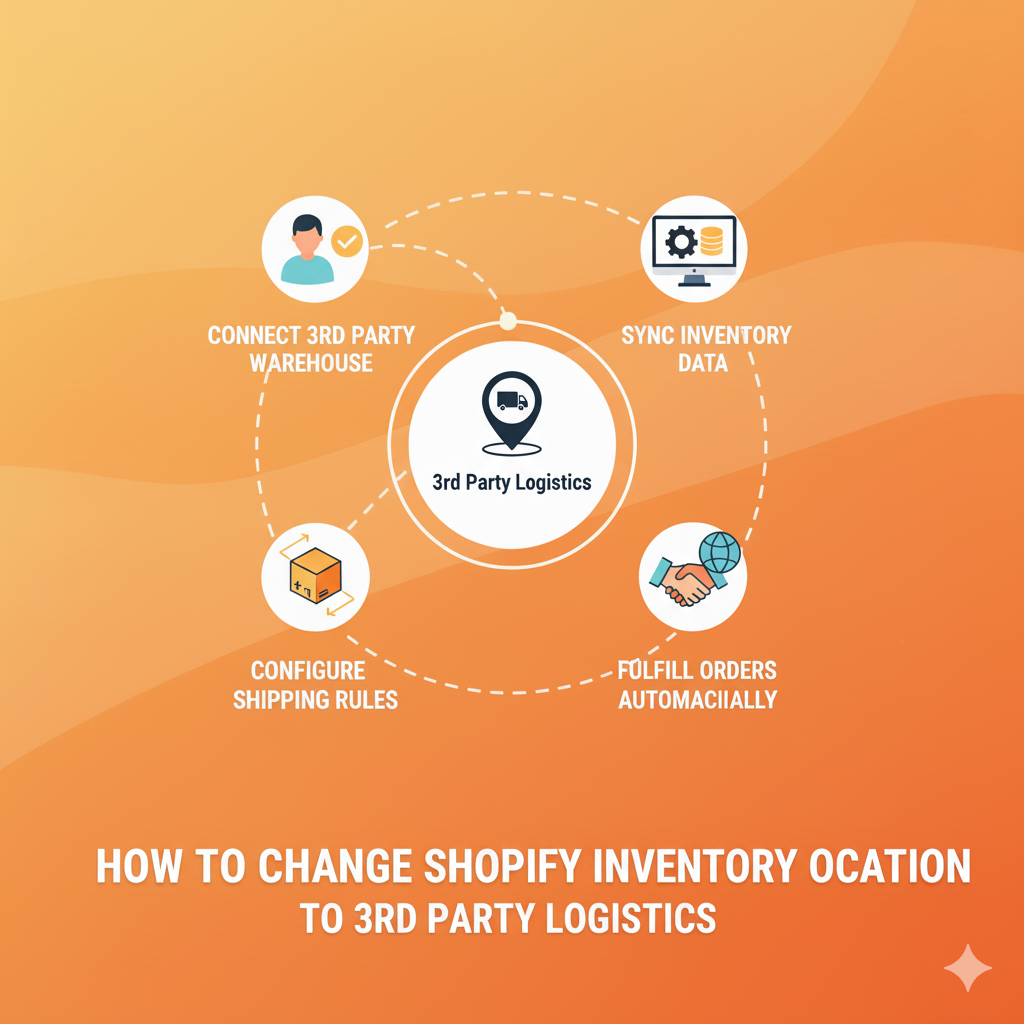
Step-by-Step: How to Add and Change Shopify Inventory Location to a 3rd Party
Let’s go through it practically.
Step 1: Log in to Your Shopify Admin
Go to your Shopify Admin Panel and make sure you have admin permissions.
Only the store owner or users with inventory management access can make these changes.
Step 2: Go to Locations Settings
In your Shopify admin:
- Click on Settings (bottom-left corner).
- Select Locations from the list.
You’ll now see all your existing locations — like your home office, store, or warehouse.
Step 3: Add a New Location
If your 3rd-party fulfillment partner provides a warehouse or hub, you’ll need to add it as a new location.
- Click Add location.
- Enter the name of your 3rd-party provider (for example, “ShipBob Warehouse” or “FBA Center”).
- Enter the address provided by your logistics partner.
- Click Save.
Your new location is now created in Shopify.
Step 4: Assign Inventory to the New Location
Once the location is added, you’ll have to assign stock to it.
- Go to Products in Shopify Admin.
- Choose the product you want to move.
- Under Inventory, select the new location from the list.
- Update the available quantity for that location.
- Save the changes.
Now Shopify knows that this product is stored at your third-party’s warehouse.
Step 5: Deactivate Old Locations (Optional)
If you’re no longer using your old storage, you can deactivate the previous location:
- Go back to Settings → Locations.
- Click the location you want to remove.
- Click Deactivate location at the bottom of the page.
Shopify will ask you to transfer any remaining inventory before you proceed.
Step 6: Integrate with Your 3rd-Party App
If your 3rd-party logistics provider has a Shopify integration (like ShipBob, ShipStation, Amazon FBA, or Deliverr), it’s best to connect it directly.
Here’s how:
- Go to Shopify App Store.
- Search for your fulfillment partner’s official app.
- Install and connect it with your Shopify store.
- Authorize inventory sync and order fulfillment.
This ensures your 3rd party automatically updates stock levels, fulfillment status, and tracking numbers in real-time.
Step 7: Test Your Setup
Always do a test order to confirm everything works:
- Is your order automatically assigned to the 3rd-party location?
- Is the stock deducted correctly?
- Does fulfillment happen through the connected partner?
If yes, you’re all set!
Example: Connecting Shopify to ShipBob
If you’re using ShipBob, here’s a quick summary:
- Install the ShipBob Fulfillment App from Shopify.
- Connect your store and select which products to sync.
- ShipBob automatically creates a location in your Shopify account.
- Inventory, shipping, and returns are managed directly by ShipBob.
This type of direct integration is ideal for brands that ship 50+ orders per day.
Common Issues When Changing Shopify Inventory Location
Here are a few problems store owners commonly face and how to fix them:
| Issue | Possible Cause | Fix |
|---|---|---|
| Orders not assigned to new location | Location not prioritized | Adjust fulfillment priority under Settings → Locations. |
| Wrong inventory count | Manual entry error | Re-sync data from your 3PL dashboard. |
| Duplicate stock | App created multiple warehouse entries | Merge or delete unused locations. |
| Shipping not triggered | App permissions issue | Reauthorize your 3rd-party app. |
Best Practices for Smooth 3rd-Party Integration
- Keep product SKUs consistent across Shopify and your 3PL system.
- Regularly audit inventory using reports in both platforms.
- Use automation to sync orders, tracking, and returns.
- Communicate with your logistics partner about packaging and order cut-off times.
The goal is to let your Shopify store and logistics partner work as one seamless system.
Wrap Up
Changing your Shopify inventory location to a 3rd-party provider is not just a technical adjustment it’s a smart move for scaling your store.
By automating fulfillment, syncing stock, and optimizing your logistics, you save time, reduce errors, and offer faster delivery to your customers.
Start small connect one warehouse, test a few products, and once everything works smoothly, roll it out across your catalog.
This way, your store keeps growing without you worrying about backend chaos.